From Localhost to Live: The Beginner Dev’s Guide to Hosting Your First Full-Stack App | ReUneek
From Localhost to Live: The Beginner Dev’s Guide to Hosting Your First Full-Stack App
Bilal AhmedJul 15, 2026 • 6 min read
It is the classic developer milestone. You’ve spent the last three weeks chugging coffee, writing code, and debugging API routes. Your frontend looks beautiful, your backend is handling requests flawlessly, and your database is perfectly seeded.
It works perfectly on
locahost:3000
But then comes the terrifying question: How do I actually put this on the internet?
If you are just building a simple HTML/CSS portfolio, you can toss it onGitHub Pages or Netlify for free in about thirty seconds. But you are a full-stack developer now. You have a Node.js backend, a Python script, a MongoDB database, or maybe a Docker container. Free static hosts can’t run your backend processes or host your databases. You need real server power.
In this guide, we are going to break down exactly how to move your full-stack application from your local machine to a live, production-ready environment using Cloud and VPS hosting. No confusing jargon, just exactly what you need to know to get your app live.
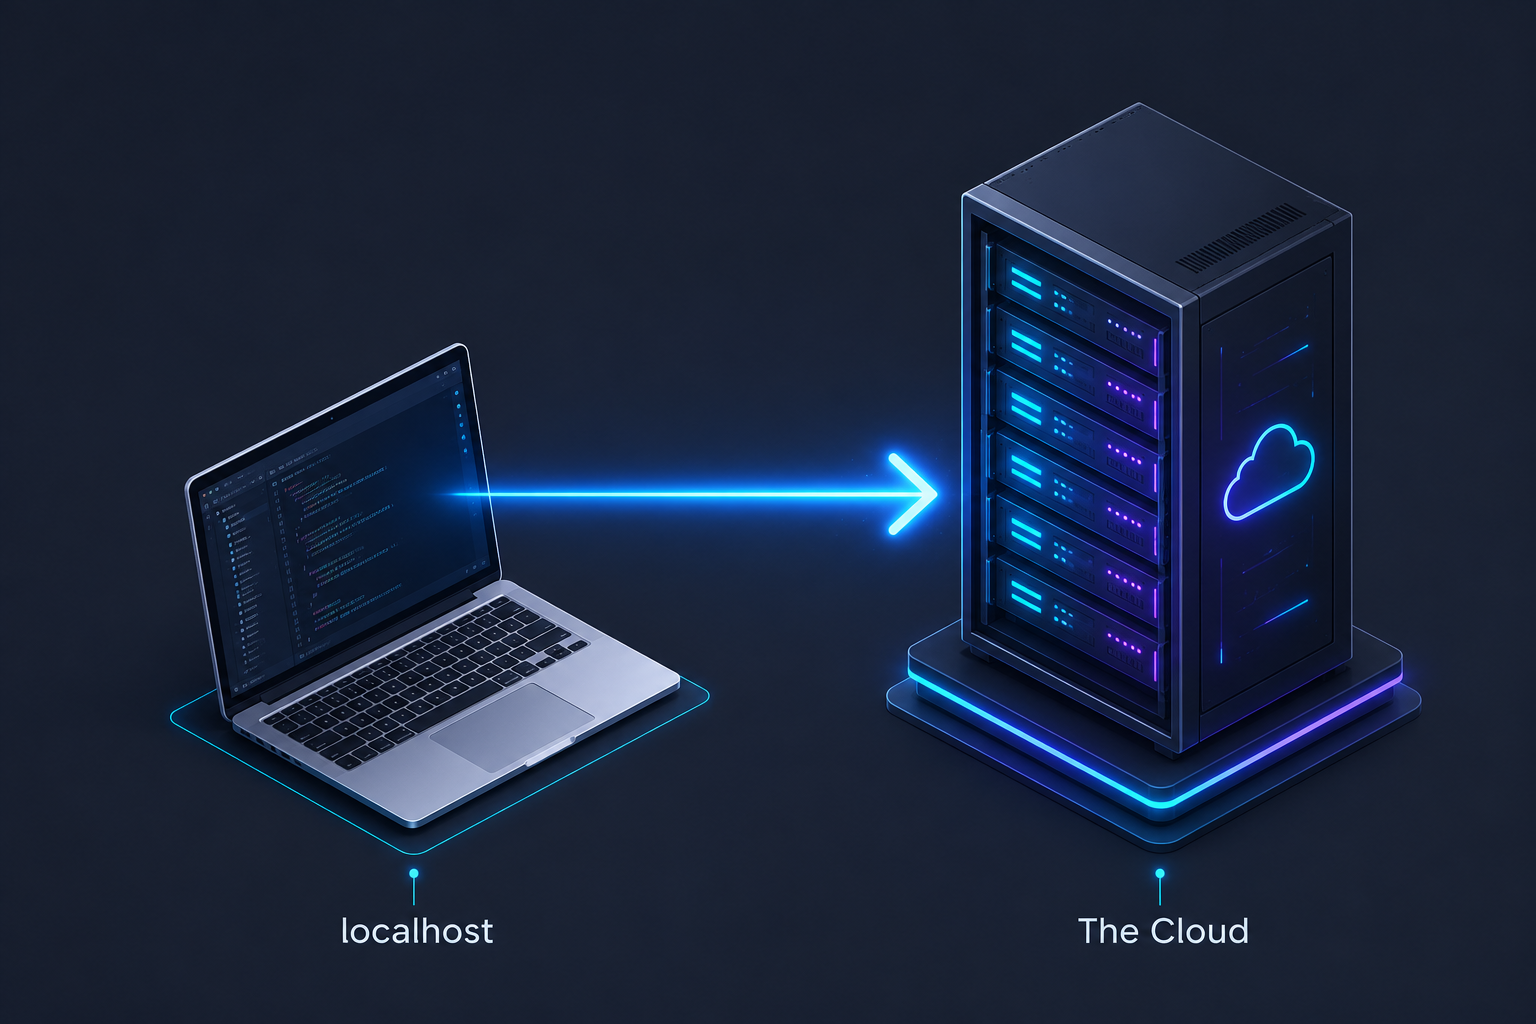
Localhost To The Cloud
Why Shared Hosting is a Trap for Developers
If you Google "cheap web hosting," you will be bombarded with ads for Shared Hosting (think of platforms pushing basic cPanel setups for WordPress blogs).
As a developer, avoid standard shared hosting.
Shared hosting is designed for bloggers and small business owners who just need PHP and a MySQL database to run
WordPress. It is essentially renting a small folder on a server with hundreds of other websites. You do not get root access, you cannot install custom runtimes like Node.js or Ruby, and you certainly cannot run a Docker container.
To host a full-stack application, you need an environment where you control the operating system. You need a VPS (Virtual Private Server) or a Managed Cloud solution.
VPS vs. Managed Cloud: Which Route Should You Take?
When you step into the world of real hosting, you have two main paths. Understanding the difference is crucial for your deployment strategy.
1. Unmanaged VPS (Virtual Private Server)
A VPS gives you a dedicated slice of a massive cloud server. When you buy a VPS, you are essentially given a blank computer running Linux (usually Ubuntu). You get an IP address, a root password, and that is it.
The Pros - Absolute freedom. You can install anything, configure your firewalls, and optimize your server exactly how you want. It is also incredibly cheap for the power you get.
The Cons - You are the system administrator. If the server crashes, or if you leave a security vulnerability open, that is entirely on you.
2. Managed Cloud Hosting
Managed cloud platforms give you the power of a VPS, but they put a beautiful, user-friendly dashboard on top of it. They handle the security updates, the operating system maintenance, and often provide one-click installations for popular tech stacks.
The Pros - Saves massive amounts of time. You can focus strictly on writing and deploying code rather than configuring Linux firewalls.
The Cons - It usually costs a bit more than a raw, unmanaged VPS.
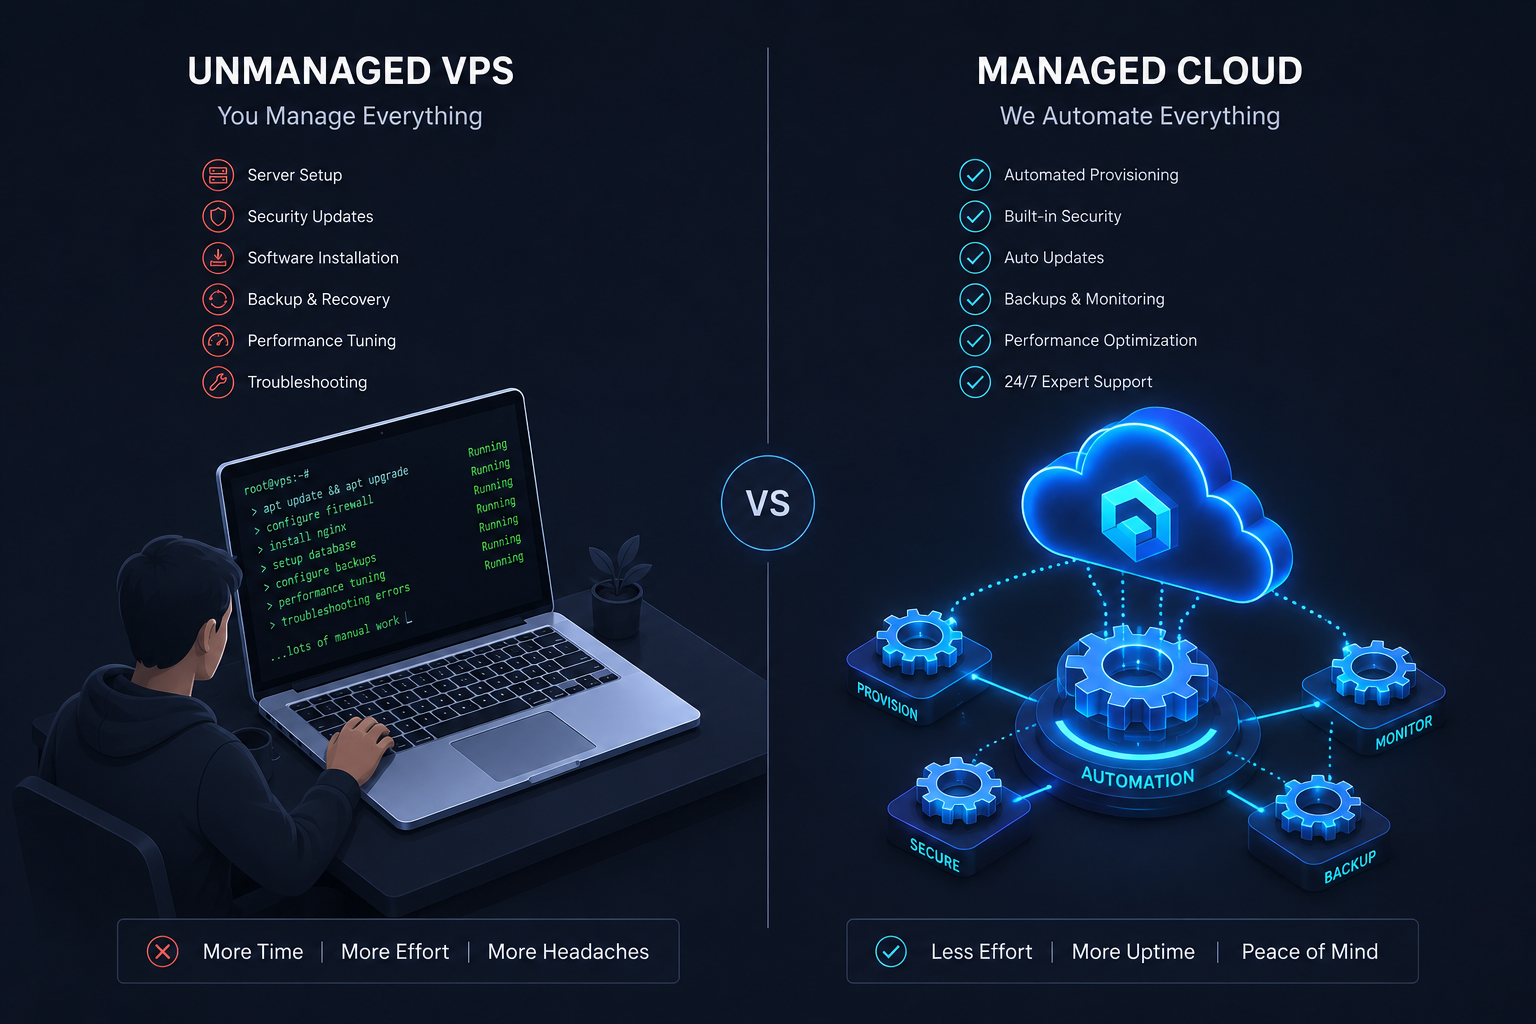
A side-by-side comparison diagram of Unmanaged And Managed VPS
3 Crucial Features to Look for in a Developer Host
Before you hand over your credit card, make sure the hosting provider you choose has these three non-negotiable features for full-stack deployment:
Full SSH Access: You need to be able to open your terminal and securely connect to your server to run build scripts, check logs, and manage your files.
One-Click Application Images: The best hosts let you skip the manual installation of standard software. Look for hosts that let you deploy a server with Docker, LAMP, or a Node/Nginx environment pre-installed.
Scalability: Your app might only have 10 users today, but what happens when it goes viral on Reddit? You need a host that lets you upgrade your RAM and CPU with a single click, without experiencing downtime.
Top Cloud & VPS Recommendations for 2026
I have tested dozens of platforms over the years. Below is the exact setup I recommend to avoid the deployment headaches I had when I first started.
1. Hostinger: The Best Value for Budget-Conscious Devs
If you want the absolute best bang for your buck without sacrificing performance, Hostinger is currently dominating the VPS and Cloud space.
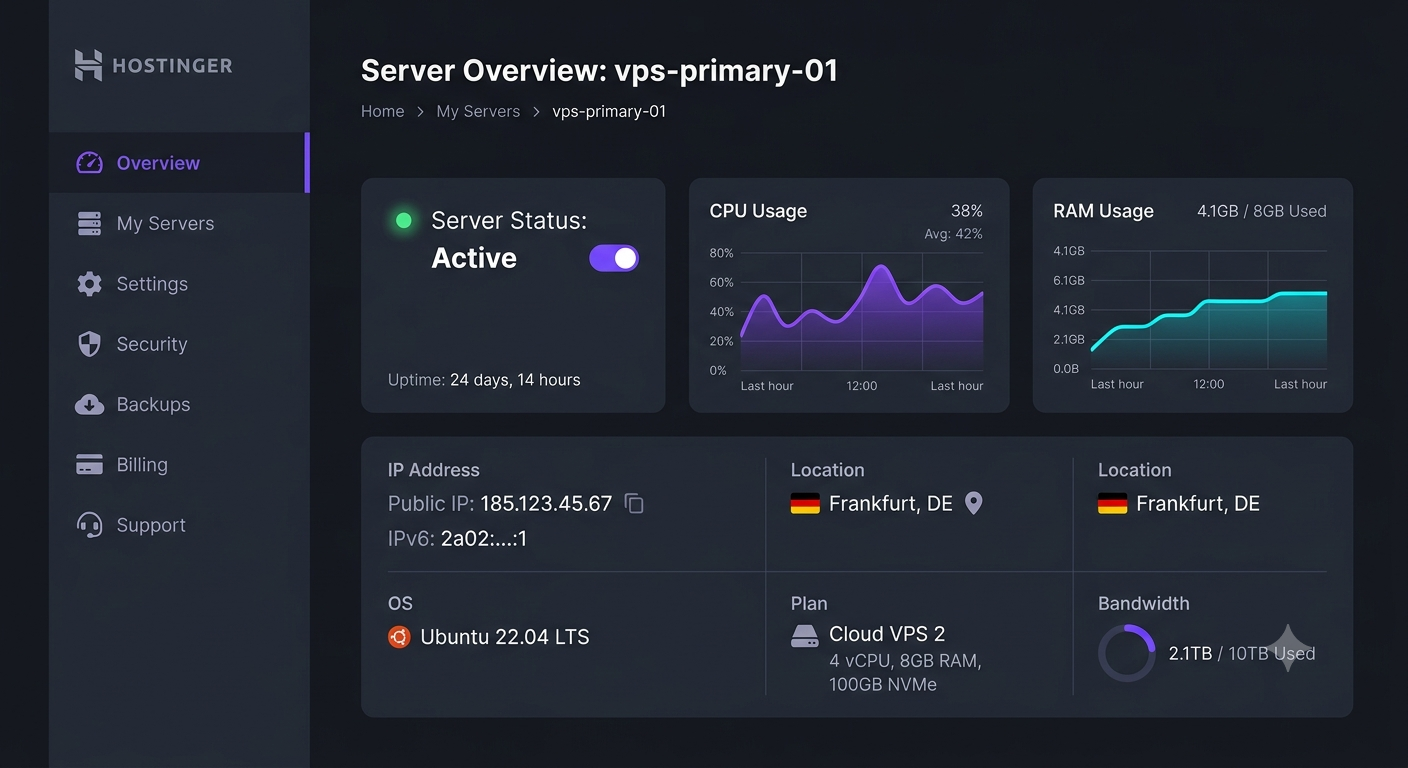
Traditionally known for shared hosting, they have completely revamped their developer offerings. Their VPS plans come with NVMe SSD storage (which means your databases read/write incredibly fast) and an AI assistant built into their hPanel dashboard to help you troubleshoot server errors. If you are nervous about managing a Linux server, their custom control panel bridges the gap perfectly.
The Setup: You can usually grab a Hostinger VPS setup for a massive discount if you lock in a longer term, making it cheaper than almost any other premium cloud provider.
Ask any senior developer where they deploy their side projects, and 90% of them will say DigitalOcean. They invented the concept of the "Droplet" (a scalable, easy-to-deploy virtual machine).
DigitalOcean is built by developers for developers. Their documentation is arguably the best on the internet. If you ever get stuck trying to configure Nginx to serve your React frontend, DigitalOcean has a step-by-step tutorial for it. It is slightly more hands-on than Hostinger, but it gives you an incredible environment to learn DevOps skills.
If your application relies on lightning-fast API responses (like a real-time chat app or a multiplayer game server), Vultr is a fantastic option. They have server locations all over the globe, meaning you can deploy your application physically closer to your users to reduce latency. They also offer "High-Frequency" compute instances that run on incredibly fast processors.
Step 4: Install Dependencies & Run
Navigate into your folder, install your Node modules (or Python requirements), and start your application. For production, you'll want to use a process manager like PM2 to ensure your app stays running even if the server restarts.
Step 5: Setup a Reverse Proxy (Nginx)
By default, your app might run on a port like 3000. You will install Nginx to listen for standard web traffic (Port 80) and route it cleanly to your app.
The Bottom Line
Deploying your first full-stack application is a massive leap in your developer journey. It forces you to learn how servers actually work, how the internet routes traffic, and how to secure a live environment.
Do not let the fear of the command line hold you back. Platforms have made it easier than ever to get a server up and running in minutes.
If you want a smooth, guided experience that won't empty your wallet, grab a cloud plan on DigitalOcean , spin up an Ubuntu instance, and get your code out into the real world. You’ve built the app. now it is time to show it off.
Comments
No comments yet. Be the first to start the conversation.
Newsletter
Join the inner circle
Get new essays, launches, and editorial picks without needing to chase the site.