Stop Data Leaks: A Beginner's Guide to Supabase Row Level Security (Direct & practical) | ReUneek
Stop Data Leaks: A Beginner's Guide to Supabase Row Level Security (Direct & practical)
Bilal AhmedJul 24, 2026 • 5 min read
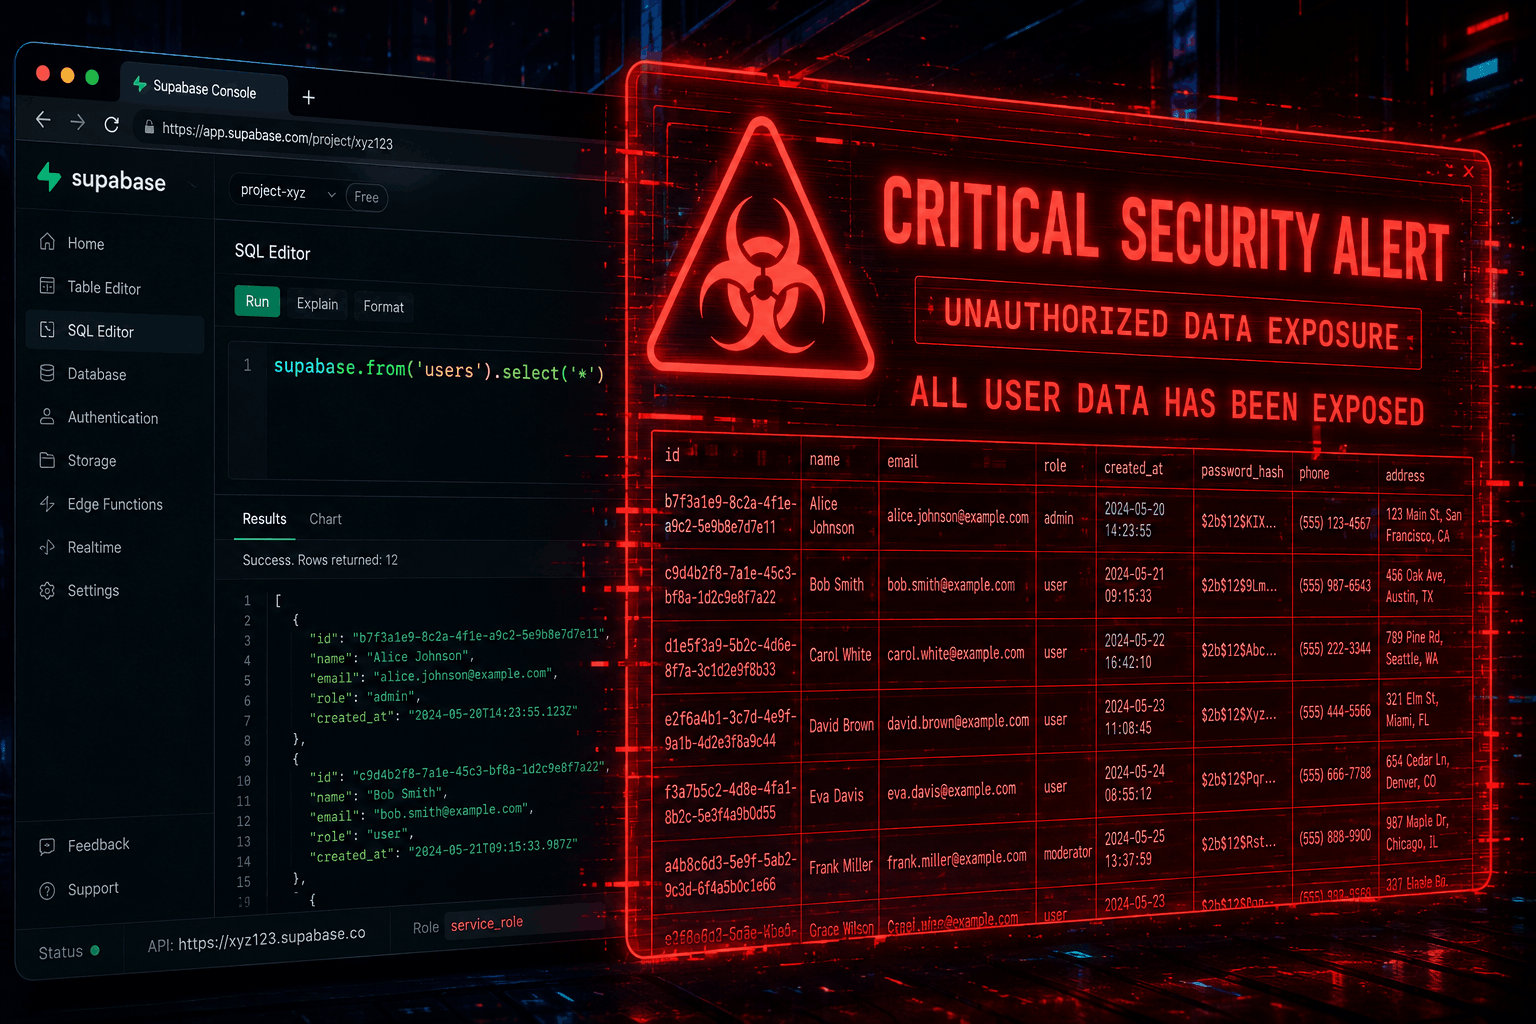
Imagine you just launched your Next.js app. Users are signing up, logging in, and creating their profiles. You feel great. Then, a slightly curious user opens their browser console.
They type one line of JavaScript:
await supabase.from('profiles').select('*')
Hit enter.
Instantly, the database hands them an array containing every single user's private email, phone number, and home address. Absolute disaster. Your app is compromised on day one.
If you are coming from a traditional Node.js backend, this scenario is your biggest fear. In a traditional setup, your backend server acts as a shield. The frontend asks the backend for data, the backend checks permissions, and then queries the database.
But with Supabase, your Next.js frontend talks directly to the PostgreSQL database. There is no Node.js middleman. So how do you stop that single line of code from exposing everything?
You make the database the bouncer.
What is Row Level Security (RLS)?
PostgreSQL has a built-in feature called Row Level Security. It is the absolute core of the Supabase architecture.
Think about standard database security like the front door of an apartment building. If you have the code (or are authenticated), you can walk into the lobby. But once you are in the lobby, can you just walk into anyone's apartment? Obviously not. You need a specific key for a specific door.
Standard Table-Level Security just checks if you are allowed in the building. Row Level Security checks if you are allowed to open the specific row you are trying to access.
When you enable RLS on a table, the database looks at every single row before sending it back to the client. It asks a simple true or false question: Does this specific user have permission to see or modify this specific row? If the answer is true, the row is returned. If the answer is false, the database pretends the row doesn't exist.
The Magic Bridge: auth.uid()
In Part 2 of this series, we ripped open a JSON Web Token (JWT). We saw that Supabase packs the user's unique ID into the sub claim of that token.
When your Next.js client makes a request to Supabase, it attaches that JWT. The GoTrue API verifies the signature and passes it straight to PostgreSQL.
PostgreSQL needs a way to read that token. Supabase provides a custom SQL function to do exactly this: auth.uid().
This function is your best friend. Whenever you call auth.uid() inside a database policy, it instantly returns the ID of the user making the request. No complex backend logic required. The database reads the token and knows exactly who is knocking on the door.
The ApartMent Anology
Writing Your First Policy
Let's apply this to a real-world scenario. We will use a standard profiles table.
Imagine your profiles table has three columns: id (which matches the user's auth ID), username, and bio.
First, you have to turn the security system on. By default, PostgreSQL tables are completely open to whatever role accesses them. In the Supabase SQL editor, you run this command:
ALTERTABLE profiles ENABLEROWLEVELSECURITY;
The moment you run that line, the table goes on complete lockdown. This leads to the biggest mistake beginners make.
The Silent Fail
You turn on RLS, you go to your frontend, and you try to fetch your own profile. You get a completely empty array back. No errors. Just empty data.
Why? Because when RLS is enabled, the default policy is deny all. Unless a policy explicitly grants access, the database will not return the row. It fails silently by design to protect your data.
We need to write policies to open specific doors.
Building the Rules: SELECT, UPDATE, INSERT
A policy is just a SQL rule attached to a table. You write a rule for every action a user might take.
1. The SELECT Policy (Reading Data)
Let's say we want users to be able to view their own profile, but nobody else's. We create a policy for the SELECT operation.
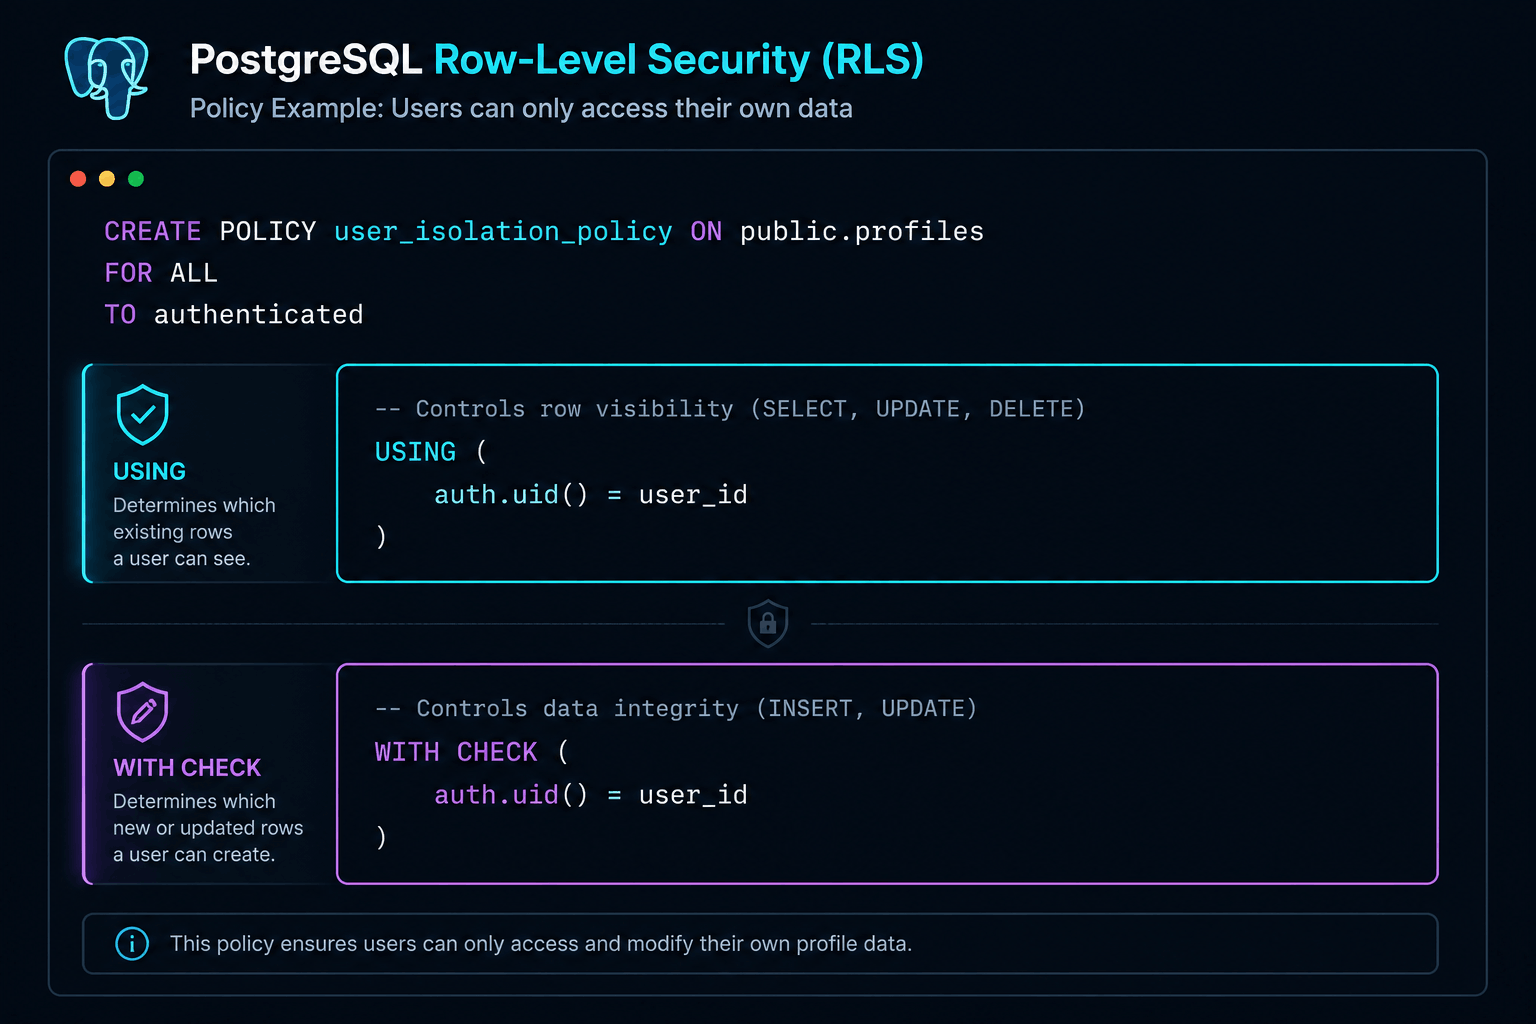
CREATEPOLICY"Users can view own profile"ON profiles FORSELECTUSING( auth.uid()= id );
Notice the USING clause. The database evaluates this statement for every row. It checks if the auth.uid() (the ID from the token) matches the id column of that specific row. If it matches, the row is visible. If not, it stays hidden.
2. The UPDATE Policy (Modifying Data)
Reading is easy. Modifying is where you need to be strict. A user should only be able to edit their own bio.
CREATEPOLICY"Users can update own profile"ON profiles FORUPDATEUSING( auth.uid()= id )WITHCHECK( auth.uid()= id );
You will notice a new clause here: WITH CHECK.
What is the difference?
USING dictates which existing rows a user is allowed to touch.
WITH CHECK dictates what the data is allowed to look like after the update happens. It prevents a user from maliciously changing their id column to match someone else's ID during an update. For updates, you almost always want both.
3. The INSERT Policy (Creating Data)
When a user first signs up, they need to create a profile.
CREATEPOLICY"Users can insert own profile"ON profiles FORINSERTWITHCHECK( auth.uid()= id );
Insert policies only use WITH CHECK because there is no existing row to evaluate with USING. We are simply verifying that the row they are trying to insert has an id that matches their own token.
Handling Public Data
What if you want a public profile directory? You want anyone to see the usernames, but only the owner can edit them.
You just write a broader SELECT policy.
CREATEPOLICY"Profiles are viewable by everyone"ON profiles FORSELECTUSING(true);
By putting true in the USING clause, you are telling the database that this rule always passes for everyone. But because your UPDATE policy still requires auth.uid() = id, the data remains secure against unauthorized edits.
Why This Architecture Wins
Writing SQL policies feels intimidating if you are used to writing JavaScript if statements. But the performance and security benefits are massive.
Your security rules live at the lowest possible level—right next to the data. Even if your frontend code has a bug, or someone tries to bypass your UI and hit the API directly, the database will reject them. The bouncer never sleeps.
Now your database is locked down tight. Users can sign in securely, grab their JWT, and read or modify only the rows they own. We have a rock-solid foundation.
But typing in passwords is getting old. Users want friction-free experiences. Next time, we will tackle the final piece of the authentication puzzle: setting up OAuth providers like Google and GitHub to give your users a seamless login experience.